Microfinishing to Light Band Flatness Tolerance
ASG’s technique can produce parts with a surface flatness of 23 millionths of an inch.
Achieving the desired levels of surface flatness on a part can be critical in applications that require a tight seal but cannot use traditional gaskets. Such applications might include aerospace parts, precision hydraulic systems, valve bodies, pumps, and other components that require gasket-less seals or tight metal-to-metal tolerances.
ASG’s combination of light band flatness measurement and microfinishing can cost-effectively and quickly deliver the levels of precision needed.
Measuring surface flatness with light bands
The use of light bands to measure the flatness of a surface dates to at least the Second World War, with the theory itself established by Sir Isaac Newton’s experiments with light bands in the 1700s. More accurate than a coordinate measuring machine (CMM), ASG’s technique can produce parts with a surface flatness of 23 millionths of an inch.
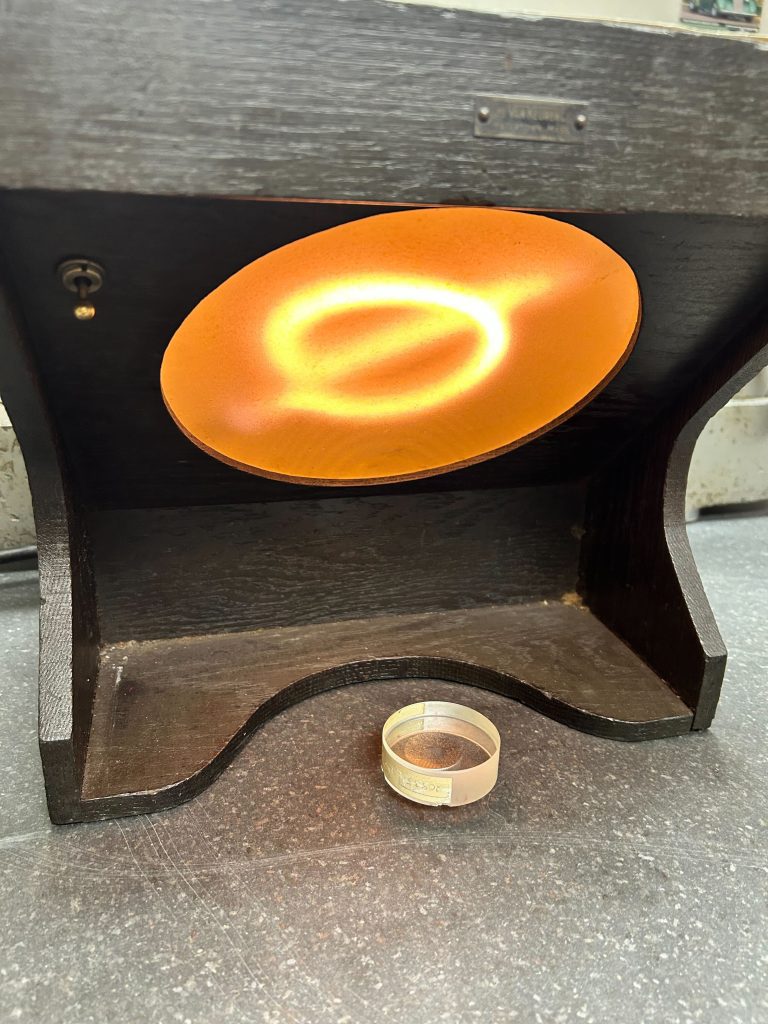
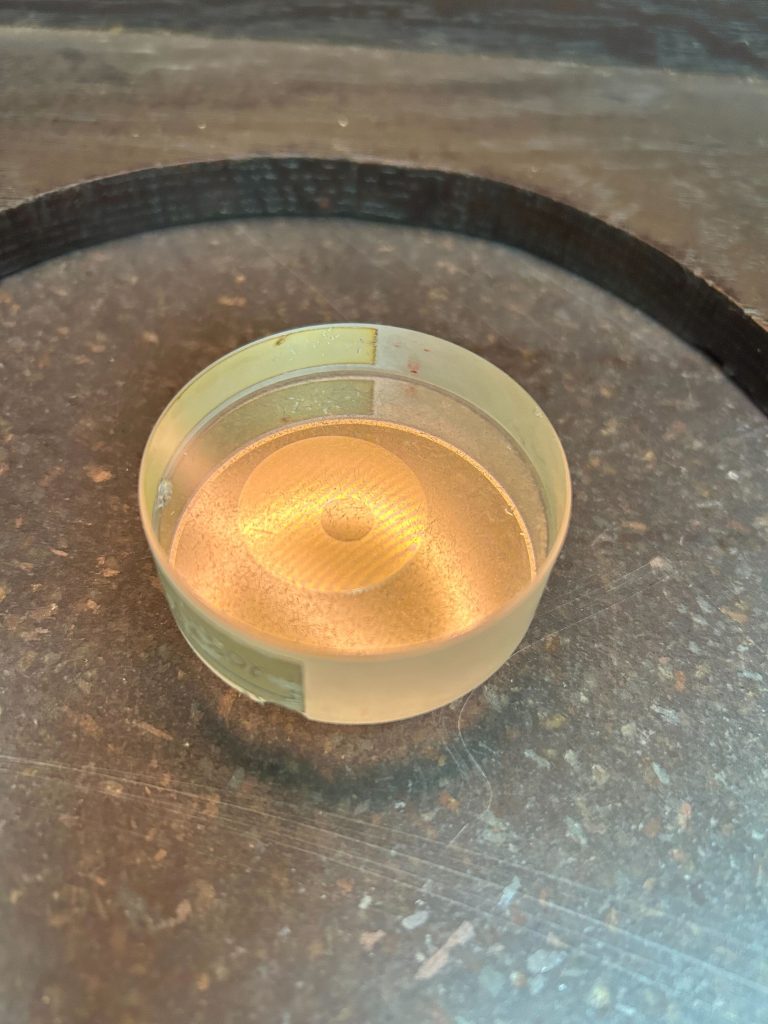
- Harnessing light: The light band measurement technique uses a monochromatic (single wavelength) light source and an optical flat, usually made of optical-grade glass. The optical flat is a transparent, precision-polished flat optical surface used to compare the relative flatness of a part. In operation, the polished surface of the optical flat is held in contact with the part to be evaluated. Shining the monochromatic light through the optical flat reveals both light and dark bands known as interference fringes across the surface of the part.
- Reading the curves and spaces: Technicians can use the dark fringes to determine how flat the part surface is by analyzing the curves of the fringes and the spacing between them. Straight, parallel, and evenly spaced fringes typically indicate perfect surface flatness. Curved, unevenly spaced light bands signal a lack of flatness and the potential need for further finishing, depending on the desired outcome.
Microfinishing using hyprolapping technology
In conjunction with the light band flatness measurement, ASG uses hyprolapping technology.
- From lapping to hyprolapping: A machining process that rubs two surfaces together with an exceptionally fine abrasive slurry between them, lapping is used to achieve the flatness levels desired. The traditional lapping process focuses on one side of the part at a time. ASG’s hyprolapping process concentrates on both sides simultaneously and provides a greater number of microfinishing options. ASG can finish parts down to about 1 mm in thickness and from about 15 to 200 mm in diameter.
Combining the precision of hyprolapping and the close-tolerance measurement accuracy of light band technology with ASG’s deep experience and expertise means customers will receive the surface flatness that their part application demands.
To learn more about ASG’s unique capabilities in light band flatness measurement and hyprolapping, call (330) 273-3443 or contact us.
